Hallowe'en Garnish Tips #1: Bloody Rim
Wondering how to make garnishes that can completely change the look of your cocktail for Hallowe'en? Keep reading!
GARNISH TIPS
I am usually not a huge fan of Hallowe'en. I'm not sure if it's the quarantine, the isolation, the disappointing summer, or the tumultuous nature of fall so far, but I am pumped this year! I have been preparing Hallowe'en-based foods, drinks, garnishes, and desserts, and I thought I would kick off my first blog post by showing you how to up your garnish game!
In today's post, I am going to show you how to make a beautiful garnish with one ingredient:
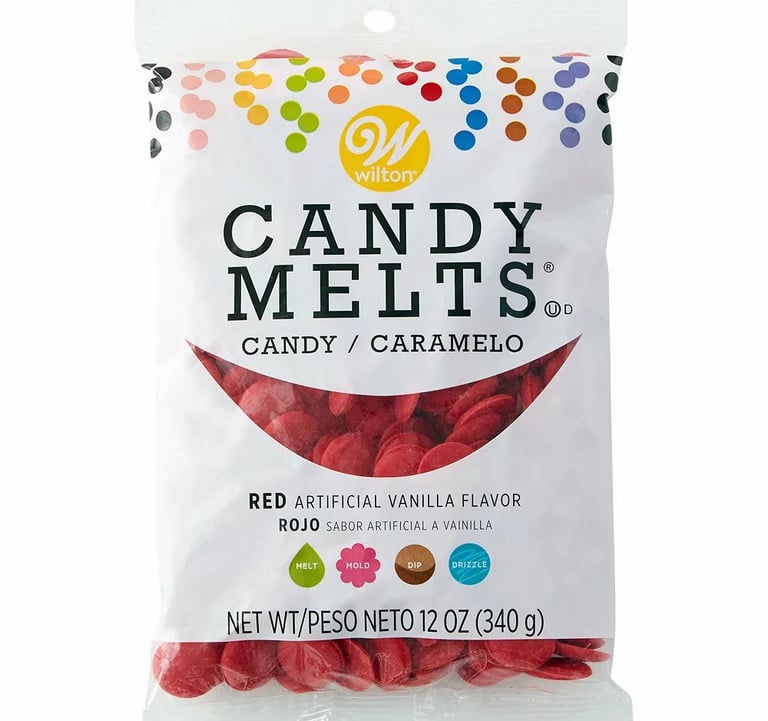
Candy Melts! What Are They?
Candy melts are a candy wafer with a low melting point. They are meant to emulate white chocolate in terms of flavour and are made up of milk solids, unsaturated fats, sugars, and artificial flavourings. Candy melts are also known as confectionery coating.
Why Use Candy Melts Over White Chocolate?
They are easier to melt.
Candy melts have an extremely low melting point. They basically begin to liquify at 30 degrees Celsius. You can feel this when you hold them in your hands. You will notice almost instantly the color starts to run and your hands get sticky!
They are less expensive.
A 12 oz. bag of candy melts will run you about $3 to $4 CAD, and that amount will stretch pretty far! Whereas the equivalent amount of white chocolate from the cheapest brand will still cost you at least $5!
Uses for Candy Melts
Candy melts have many uses, and all of them have to do with being a garnish or decoration of some sort. Candy melts alone are not delicious enough or substantial enough to be a dessert on their own. They do not have the satisfying bite, chew, or flavour of chocolate, and are a fairly unmemorable flavour.
Their sole purpose is to be used as a garnish or decoration, and they do a great job of that.
Candy melts can be used to:
- coat cookies
- candy coat pretzels
- coat candies
- coat cake pops
- rim cocktail drinks 😜
How to Use
The important thing to remember when melting candy melts is that they can overcook! If you overheat them, they will react like chocolate and will be difficult to revive.
What did I do?
I microwaved the Candy Melts for 30 seconds. They actually appeared as though they had not melted at all. I began to stir the melts with the end of a plastic spoon and noticed them melting immediately. I microwaved them incrementally from that point on in 15-second intervals. When they were completely smooth and resembled melted chocolate, I observed that the color was closer to pink than red. This is why I included additional ingredients!
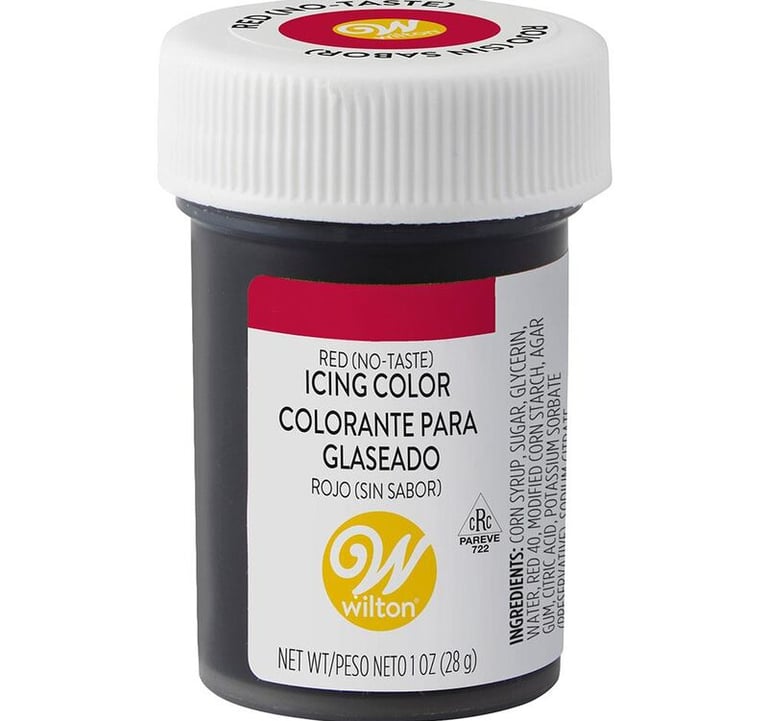
Red Dye
Wilton's Red Icing Colouring is some of the most pigmented food colouring I have yet to use. At $5 for one container, it is also the most expensive (that I own), but the color is worth it. The high pigmentation means that the container will last you a very long time.
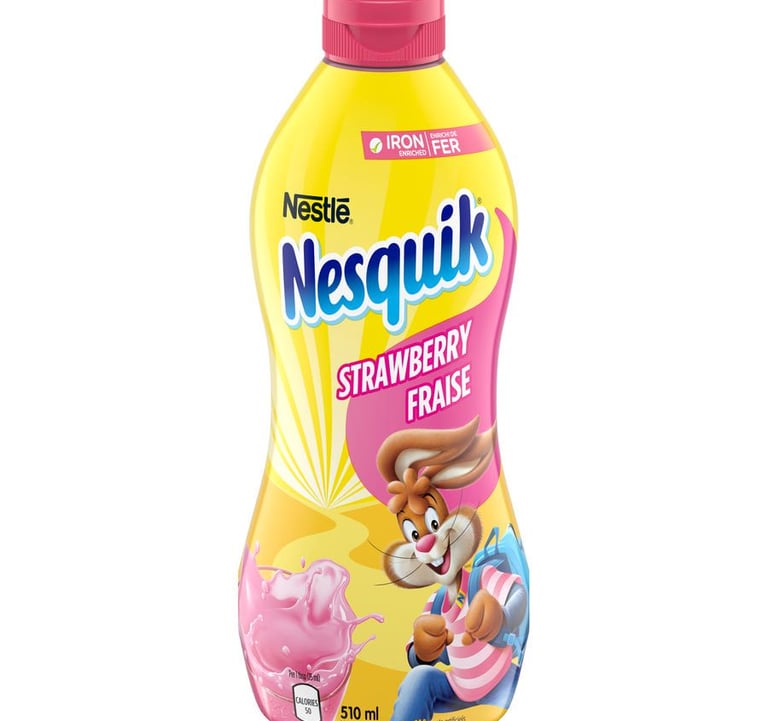
Nestlé Strawberry Syrup
This is a great alternative if you do not like the artificial flavour of icing coloring and expect to eat the garnish. It is cheap and sweet, but beware because it will likely make your melts a little runnier.
Beet or Cherry Juice
If you want a natural dye option, opt for beet or cherry juice. These natural juices dye like crazy, add flavour, and are completely natural!
What if I overcook my melts?
If your melts go from smooth to chunky and resemble cottage cheese, begin to add fresh melts, and a teaspoon of water at a time to try to achieve that smooth appearance again. At this point, you should be able to go back and follow the directions!
Ingredients:
- 15 red candy melts
- water (optional)
- red dye (optional)
- Nestlé Strawberry Syrup (optional)
- Beet or Cherry Juice (optional)
Directions:
1. Microwave your melts in a microwave-safe bowl for 30 seconds.
2. Stir.
3. If needed, incrementally microwave your melts for 15-second intervals.
4. Add coloring options.
5. If you use one of the juices or the strawberry syrup, melt more candy melts or add a cornstarch slurry (1 teaspoon water, 1 teaspoon cornstarch) to warmed candy melts to thicken.
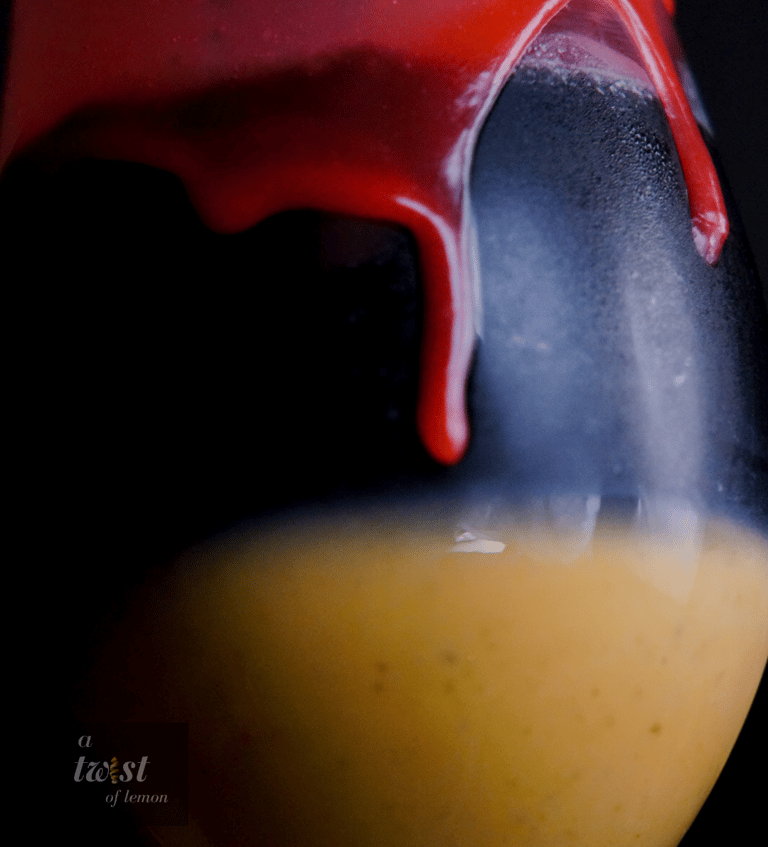
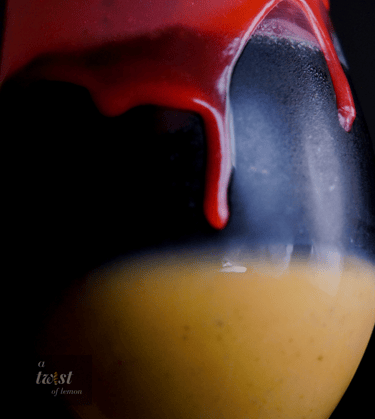
6. Dip your glass into the candy melts. Turn your glass upright and allow the candy to run down the glass in a bloody fashion. When it has run to your satisfaction, turn the glass upside-down. If your candy melts are running too quickly, consider sticking the glass in the fridge for a few seconds to allow the candy melts to dry to the glass.
7. Before your melts dry, wipe the melts out of the inside of the glass to avoid them leaching in and ruining your cocktail.
7. Add your cocktail/mocktail and enjoy!